Last month, I encountered a facility where improper installation caused a 15% measurement error. Correct installation is crucial for accurate flow measurement.
Transit time ultrasonic flow meter installation requires proper tool selection, location planning, careful mounting, and thorough calibration. Following manufacturer guidelines and best practices ensures optimal performance.
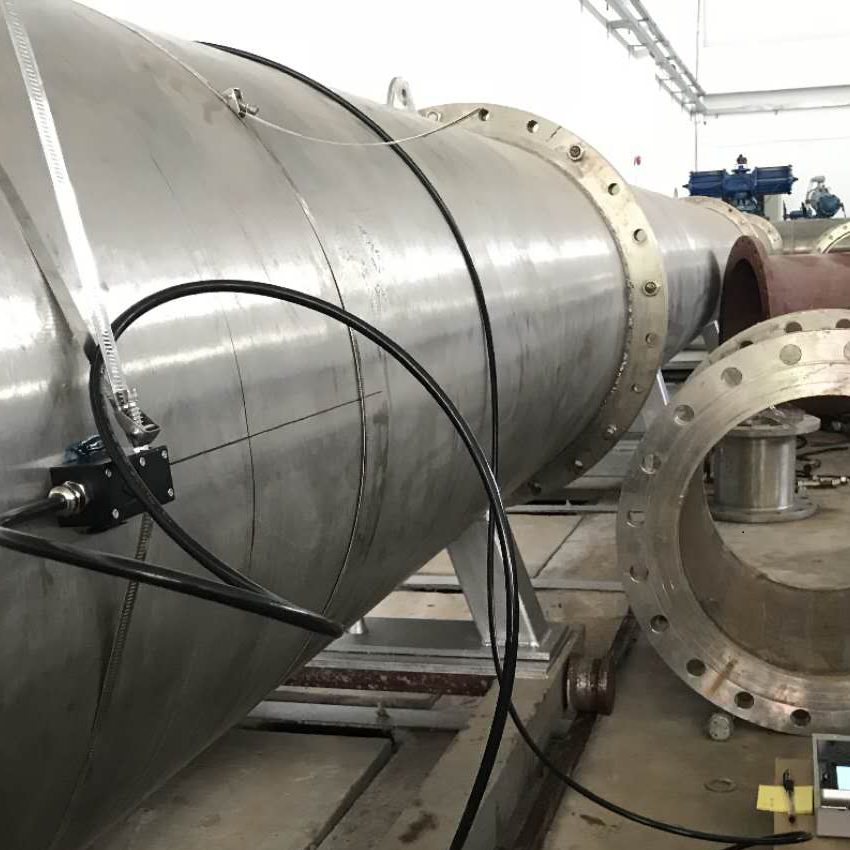
Installation Overview Diagram
| Performance | |
|---|---|
| Flow Rate | ±0.03m/s~±12m/s |
| Accuracy | ±1% of measured value |
| Repeatability | 0.2% of measured value |
| Linearity | ±1% |
| Pipe Size | DN25-DN1200 |
| Function | |
| Output | Analog output: 4-20mA, Max. load 750Ω; Pulse output: 0~10KHz |
| Communication | RS232/RS485 Modbus(M-Bus or Hart is optional) |
| Power Supply | 10-36VDC / 90-245VAC |
| Display | 240*128 backlit LCD |
| Temperature | Transmitter:-20℃–60℃;Transducer:-40℃–80℃(TT01,TT02);Transducer:-40℃–130℃(TT03,TT05);Transducer:-40℃–180℃(TT02H);Transducer:0℃–65℃(TT02S);Transducer:0℃–135℃(TT03S) |
| Humidity | Up to 99%RH, non-condensing |
| Physical | |
| Transmitter | PC+ABS, IP65 |
| Transducer | Enccapulated design IP68;Double-shielded transducer cable;Standard/Max. cable length: 30ft/1000ft(9m/300m) |
Let me guide you through the essential steps I’ve learned from installing hundreds of ultrasonic flow meters.
What Equipment and Tools Do You Need for Installation?
I once arrived at an installation site without a crucial cleaning tool, causing significant delays. Proper preparation prevents such issues.
Essential tools include measuring tape, pipe cleaning supplies, coupling gel, mounting brackets, alignment tools, and calibration equipment. Having the right tools ensures smooth installation.
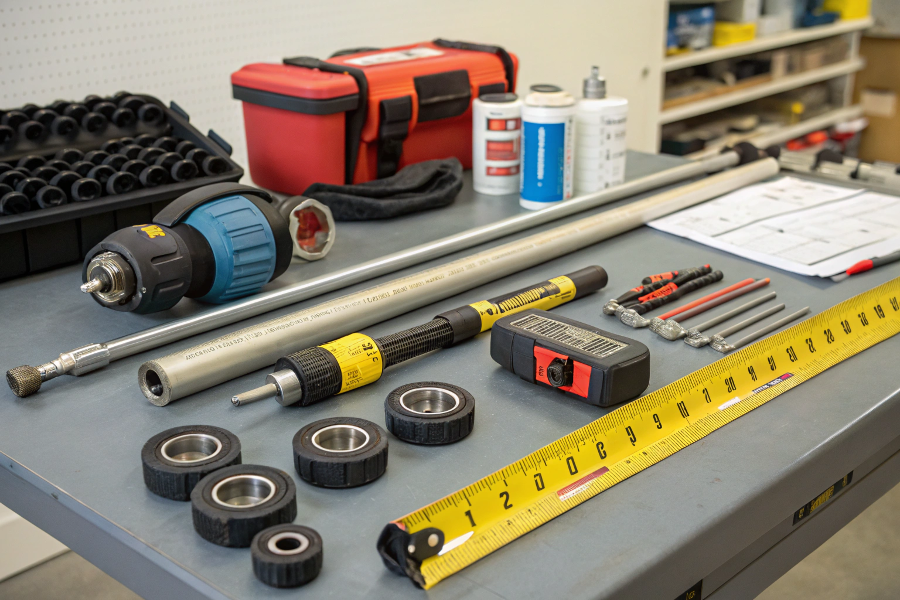
Required Installation Tools
Equipment Checklist
Essential Tools and Materials
Category Items Purpose Notes Measurement Tape measure, calipers Pipe sizing Digital preferred Cleaning Wire brush, solvent Surface prep Material-specific Installation Mounting brackets, tools Secure mounting Match meter type Safety Gloves, glasses Personal protection Always required Additional Requirements
- Documentation tools
- Communication devices
- Power supply equipment
- Testing instruments
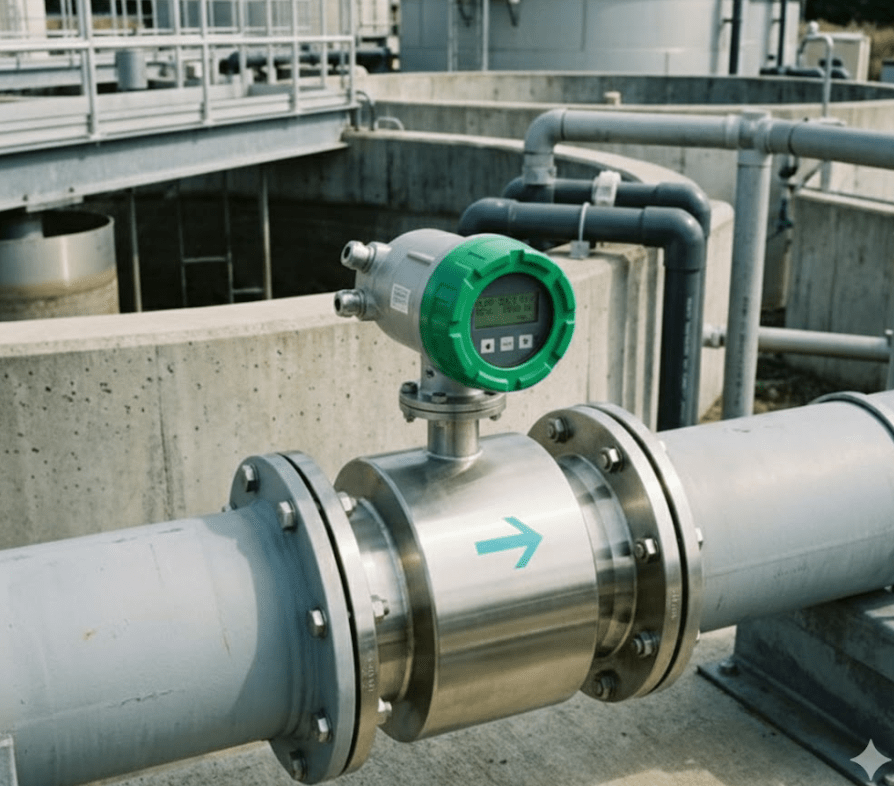
How Do You Choose the Ideal Installation Location?
During a recent project, changing the installation location from near a valve to a straight pipe section improved accuracy by 8%.
The ideal location requires straight pipe runs of 10 diameters upstream and 5 downstream, away from disturbances like valves or bends. Pipe condition and accessibility are also crucial factors.
Installation Location Guidelines
Location Selection Criteria
Pipe Requirements
Factor Requirement Impact Best Practice Straight run 10D up/5D down Flow profile Longer if possible Pipe condition Clean, uniform Signal quality Inspect thoroughly Accessibility Easy access Maintenance Consider future needs Orientation Proper position Air bubbles Follow guidelines
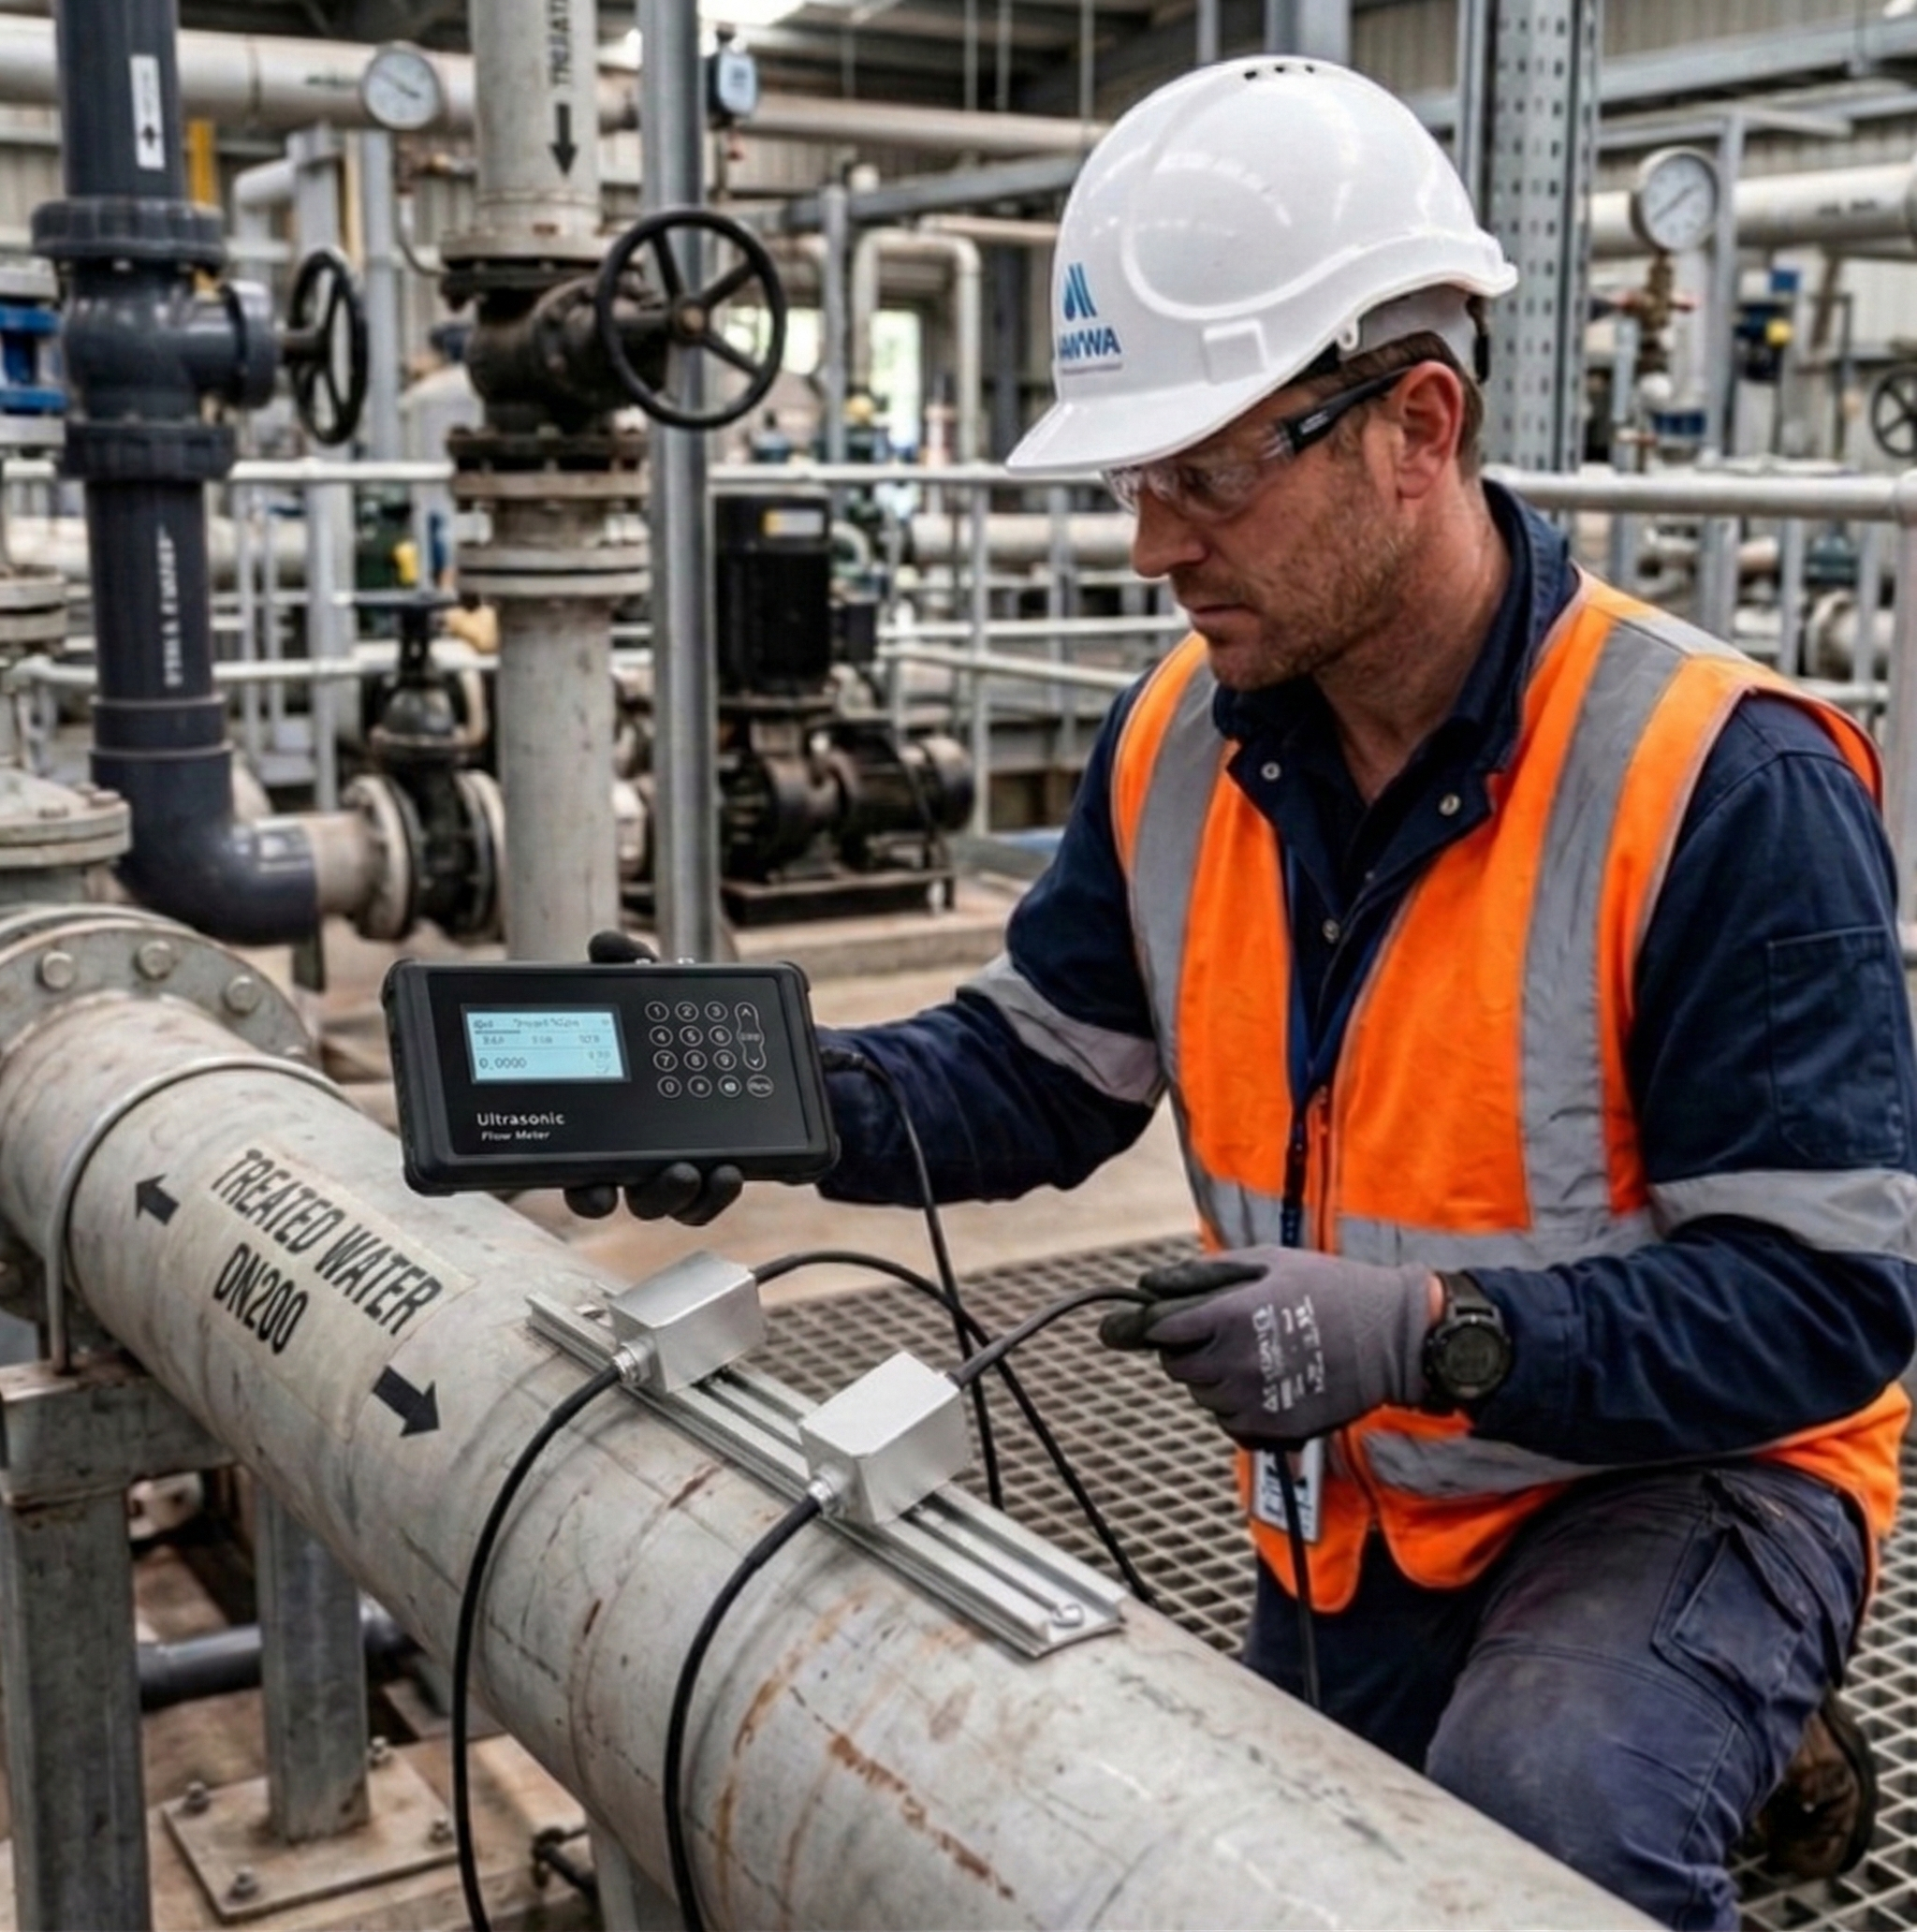
What Are the Step-by-Step Installation Procedures?
I’ve developed this detailed procedure after installing over 500 meters. Following these steps consistently delivers excellent results.
Installation involves pipe preparation, transducer mounting, wiring connection, and initial setup. Each step must be completed carefully and verified before proceeding.
Installation Process
Step-by-Step Guide
Step Action Key Points Verification 1. Preparation Clean pipe Remove scale Visual inspection 2. Marking Measure points Use template Double-check 3. Mounting Apply gel Align properly Check spacing 4. Connection Wire setup Follow diagram Test signals
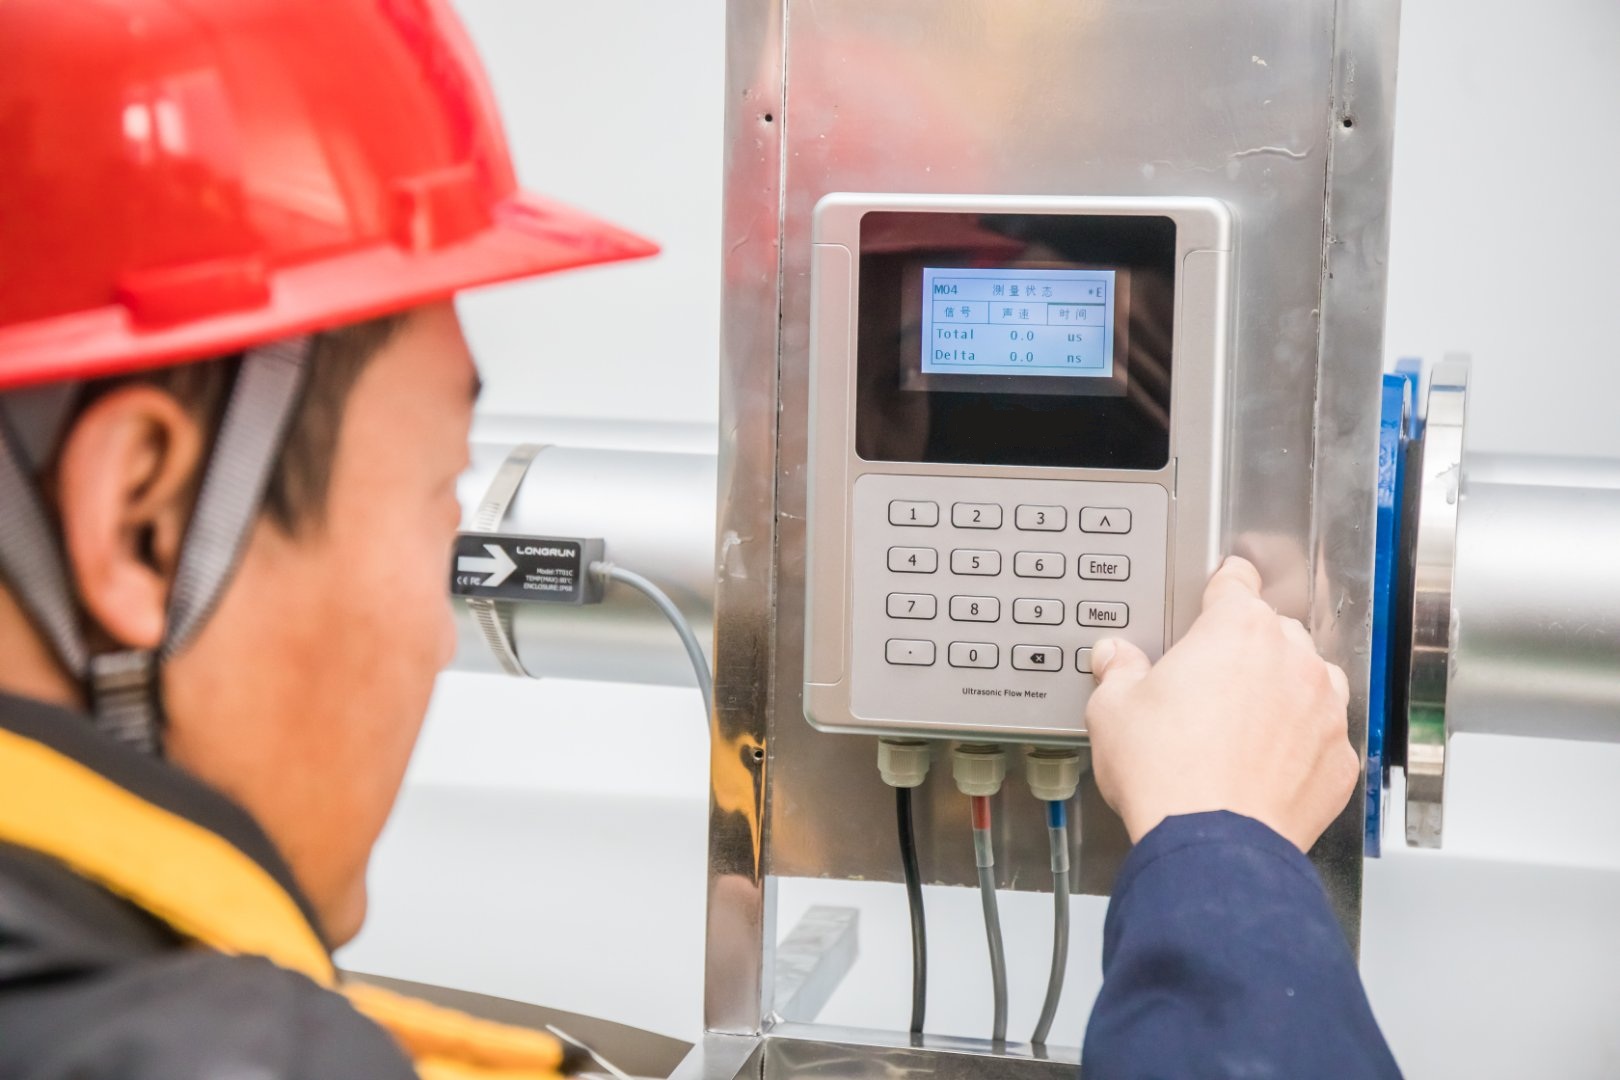
How Do You Perform Calibration and Testing?
Last week, I helped a client improve measurement accuracy from ±3% to ±0.5% through proper calibration.
Calibration involves zero point setting, span adjustment, and flow verification. Testing should cover multiple flow rates and operating conditions.
%(percentage)calibration-testing
Calibration Process1
Phase Action Parameters Acceptance Zero check No flow Stable zero ±0.1% Span test Known flow Linear response ±0.5% Range verify Multiple rates Repeatability Within spec System test Full operation Stability 24-hour test
What Are Common Troubleshooting and Maintenance Tips?
Based on my experience, 80% of performance issues can be resolved through basic troubleshooting steps.
Regular maintenance includes signal strength checking, zero verification, and physical inspection. Most issues relate to mounting, signal strength, or parameter settings.
Maintenance Guidelines
Common Issues and Solutions
Problem Possible Cause Solution Prevention Low signal Poor coupling Reapply gel Regular checks Zero drift Parameter shift Recalibrate Monthly verify Noise Interference Shield wiring Proper routing Accuracy loss Pipe condition Clean surface Annual service
Conclusion
Successful ultrasonic flow meter installation requires careful preparation, proper location selection, correct mounting, and thorough testing. Follow these guidelines for optimal performance.
Need expert help with your ultrasonic flow meter installation? Contact our technical team for professional support.